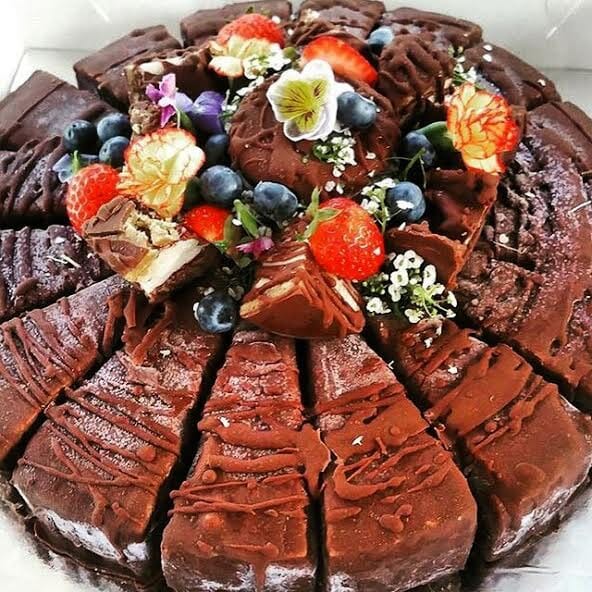
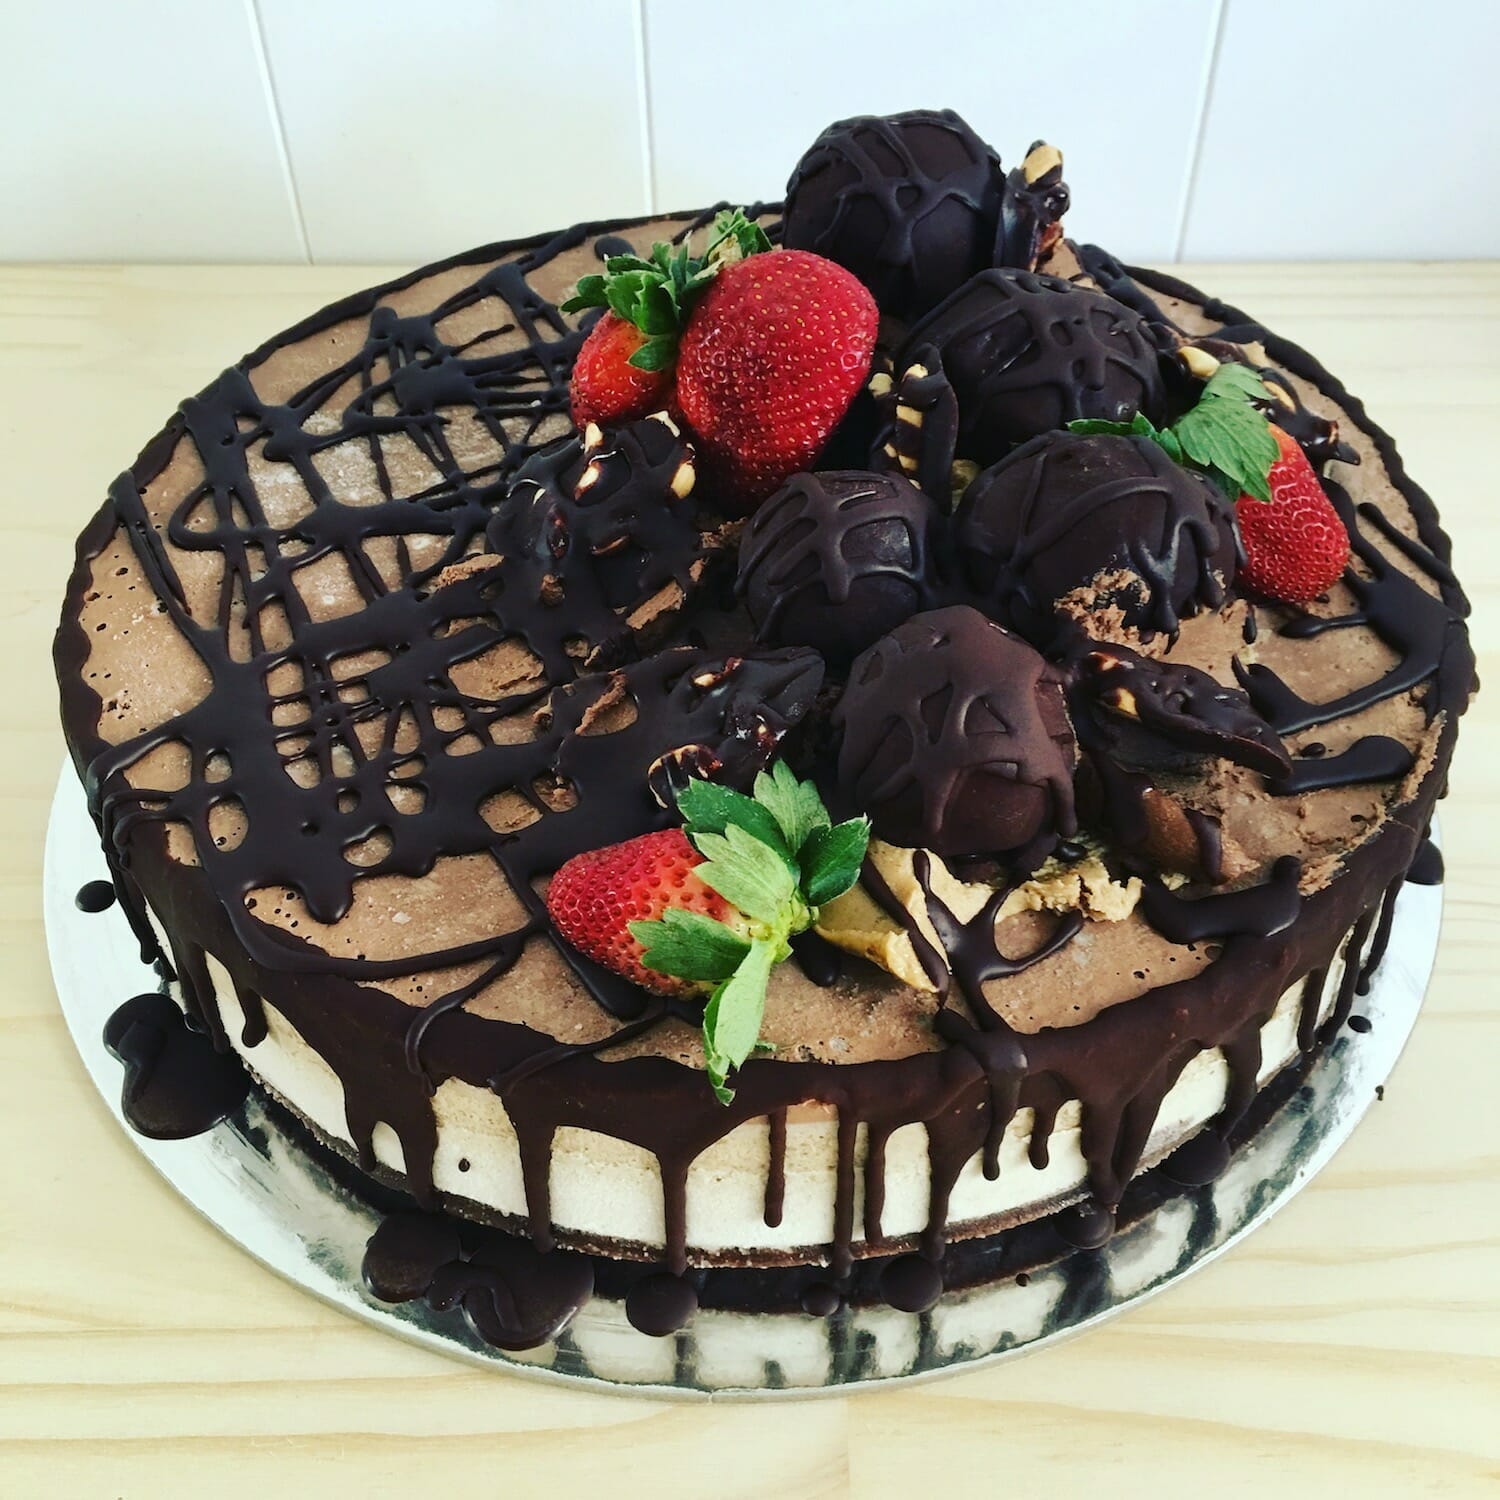
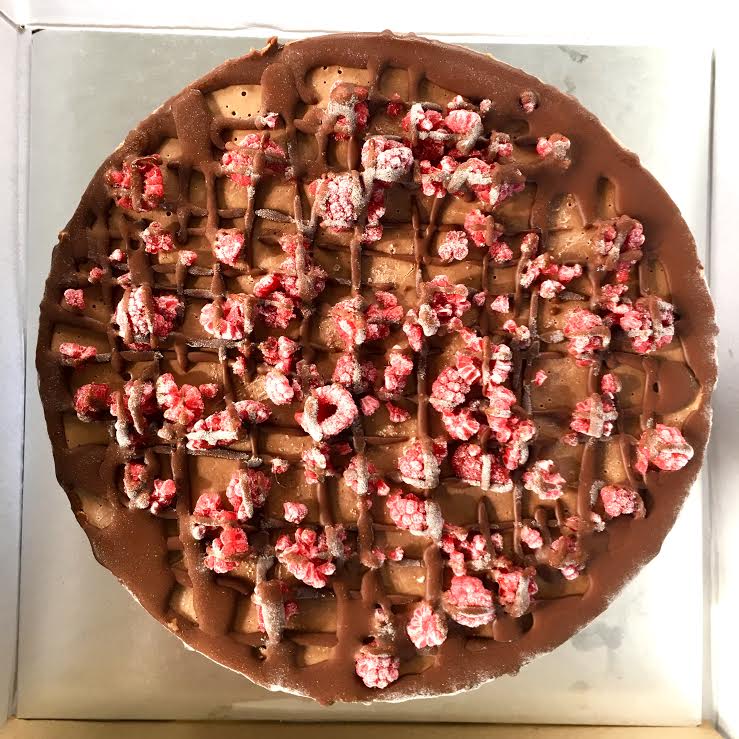
Lovingly Crafted Living Food
100% Organic, Raw, Vegan, Paleo Friendly, Gluten Free, Dairy Free & Sugar Free
Hand Crafted in Brisbane

The Latest From Our Blog
News, tips, recipes and more!

TEMPORARILY CLOSED FOR RENOS!
Our Margate store is closed for a couple of weeks to complete our commercial [...]
Christmas Update 2020
NORTHEY STREET MARKETS Last market before Christmas is Sunday December 20. There is no [...]
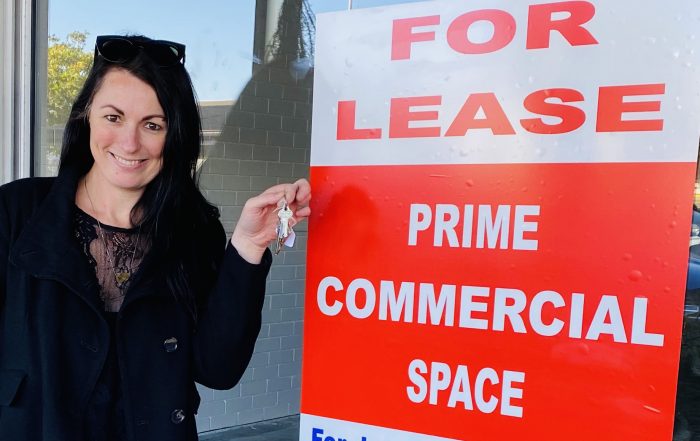
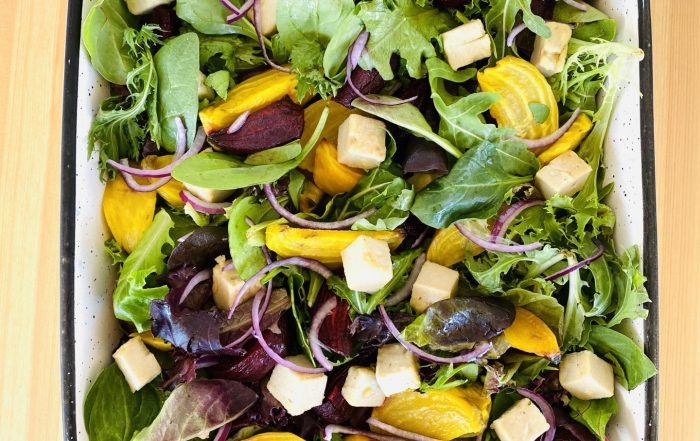
We’re opening a vegan deli!
Have you heard the news? 2020 has dropped another surprise - we're opening Brisbane's [...]
As Seen In


The Latest On Social
